In part one of my series about photography in the Galapagos Islands I went over the gear I used and the camera settings I chose. If you have not already done so, I suggest reading part one.
Here, in part two, I discuss ten things you must consider based on what I learned shooting thousands of photographs during my weeklong trip.
In part three, I conclude with a discussion of what I should have done differently and revisit gear choices.
Disclaimer: This is based solely on my experience taking a weeklong guided tour in the Galapagos Islands on board the Archipel I (specifically the eastern, central, and southern islands). I was not on a photography tour and no special accommodations were made for photographers on my trip.
Again, I am writing this for the amateur photographer who is going to the Galapagos Islands, on a once in a lifetime trip, and wants to elevate their photos.

Ten things you must consider when shooting on the Galapagos Islands.
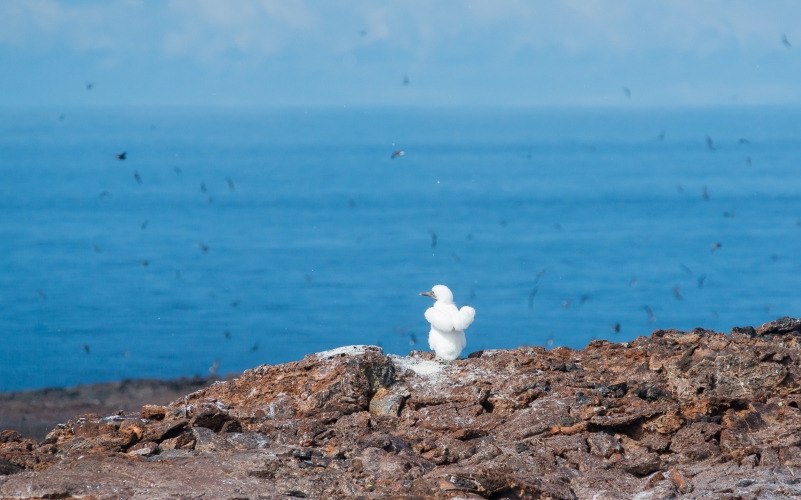
1. There is no shortage of awesome subjects. While you do not want to pass up good opportunities, you cannot photograph everything. Survey the scene before selecting which animals and birds you want to capture. You cannot photograph them all.
Be sure to look around. Left, right, up, and down. You may find some great photo opportunities behind, above, or below. See photo 1.
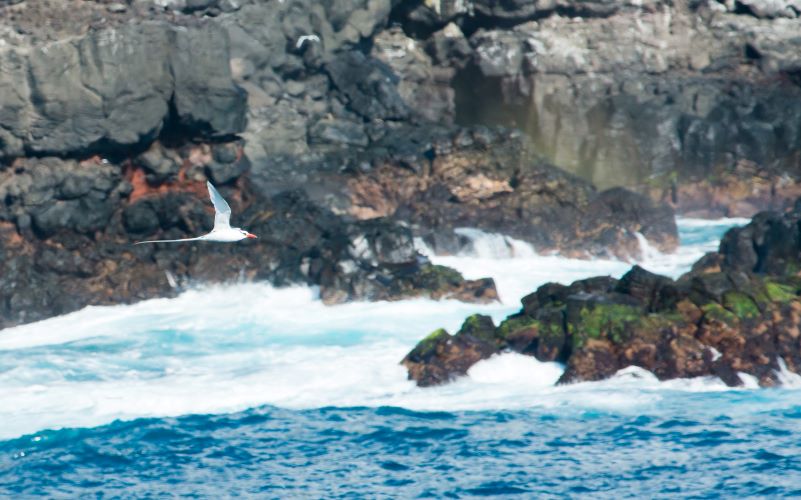
2. Watch your background. Many of your photos will include ocean and/or sky. Keeping the horizon straight is your first goal. Second is preventing the horizon from bisecting your subject through the head or in some other undesirable location.
Adjust your composition appropriately to prevent this. Generally this means getting lower. The same consideration applies to the surf line and rocks. See photo 2.
3. Speaking of getting lower, consider your height. Many of the animals and birds are on the ground, the beach, or sitting in a low shrub. Unless you want photos of the tops of heads and beaks, get your camera down to your subject’s eye level.


Photos taken on your subject’s level produce a much more pleasing perspective. Photos looking down on wildlife are not nearly as dynamic and interesting as photos captured on their level. See photos 3.
Yes, you will end up with scraped knees, and maybe even scraped elbows. It is a small price to pay.
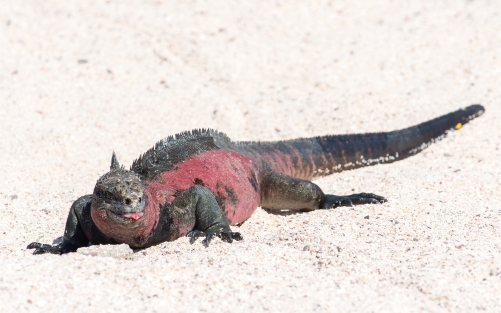
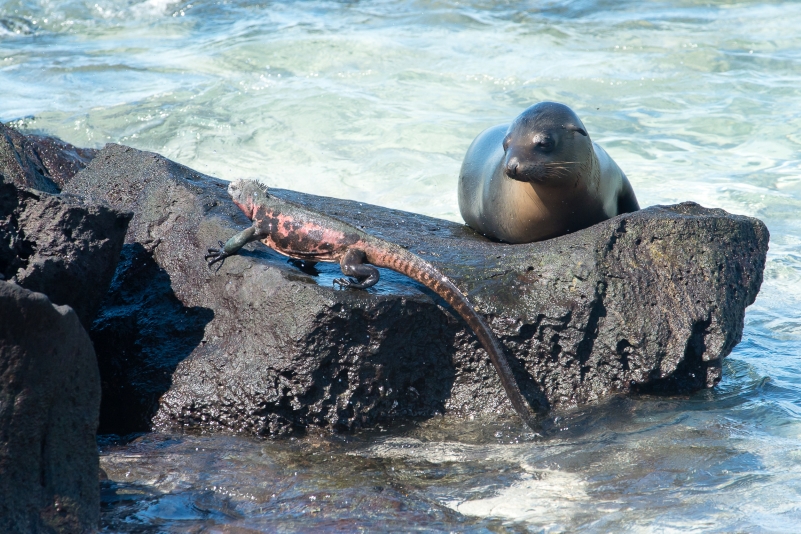
4. Because you are so close to the much of wildlife, pay attention to depth of field (DOF). Telephoto lenses have a narrow DOF, which is even more apparent at short focus distances.
I took a lot of photos using apertures in the range of f/8 to f/13. These apertures did not always produce sufficient DOF to capture an entire sea lion or marine iguana in focus.
If you want your subject to be sharp from nose to tail, you likely need to stop down to f/16 or f/22, depending on the distance to the front and rear of your subject. See photo 4.
5. On the other hand, narrow your depth of field to help blur the background when taking wildlife portraits (head and shoulder). Use the largest aperture you have and extend your telephoto zoom out fully.

You will have ample opportunities to shoot portraits of sea lions, marine iguanas, and many sea birds (boobies, frigates, herons). Galapagos wildlife is just begging for close-ups. See photo 5.
6. Do not forget to take environmental style photos. Get some photos of the animals and birds in their surroundings. Use a wide angle lens, or something in the 35mm to 50mm range.
As I mentioned in part one, I used a Nikon Coolpix A (effective 28mm lens) to take landscape photos. I should have used it more often for wildlife photos.
Using a wider lens to take wildlife photos is difficult when you must maintain a two meter distance from the animals. But it can be done. Think wide angle and look for photo opportunities with an interesting background.
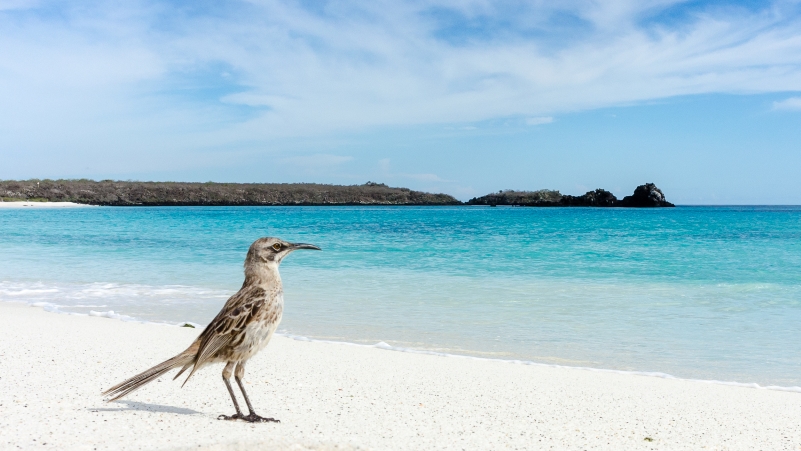
As it turned out, my favorite photo from the trip was taken with the Coolpix A. I held the camera at ground level on a beach and waited for a mockingbird to run into the frame. Based on my immediate past experience with this one bird, I knew exactly what he was going to do. See photo 6.
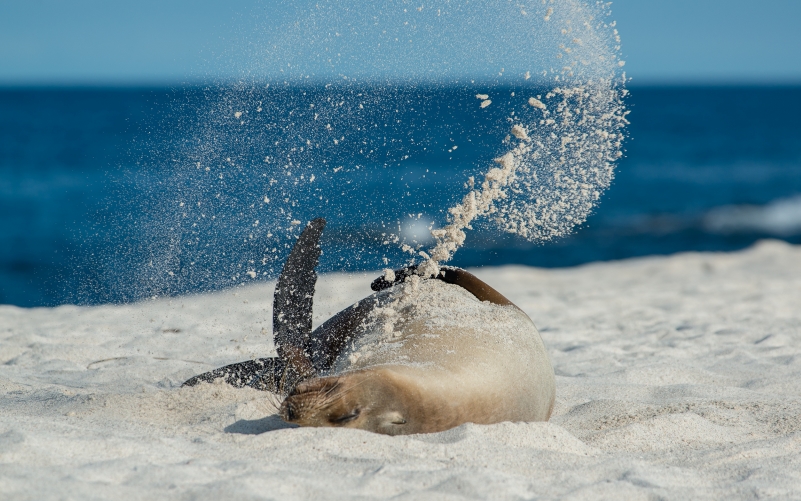
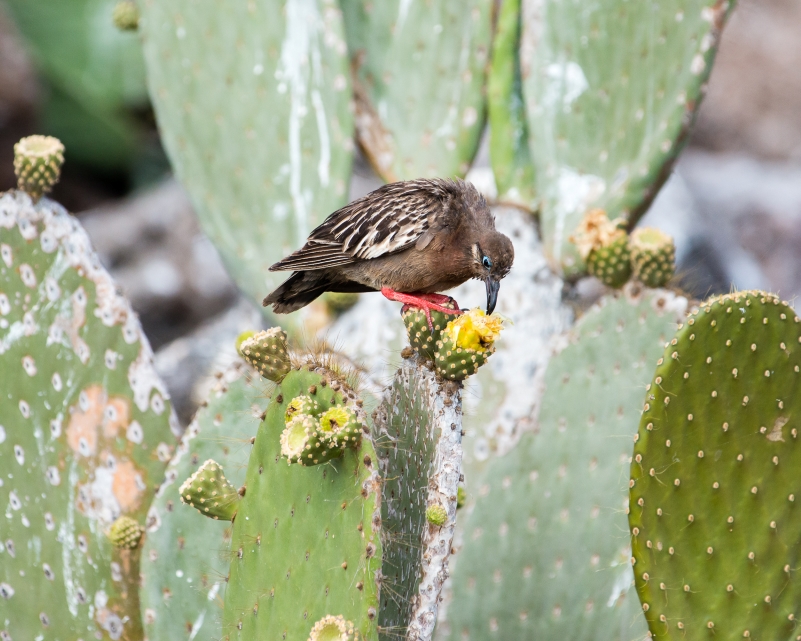
7. Look for action! You will see animals eating, playing, walking, flying, and trying to attract mates. Do not just take photos of resting animals, which you will see in abundance. More than anything else I tried to photograph animals doing something.
Animals are often creatures of habit. If you see an animal exhibiting a certain type of behavior, there is a good chance it will be repeated soon. Take advantage of this by waiting for the photo. See photos 7A.
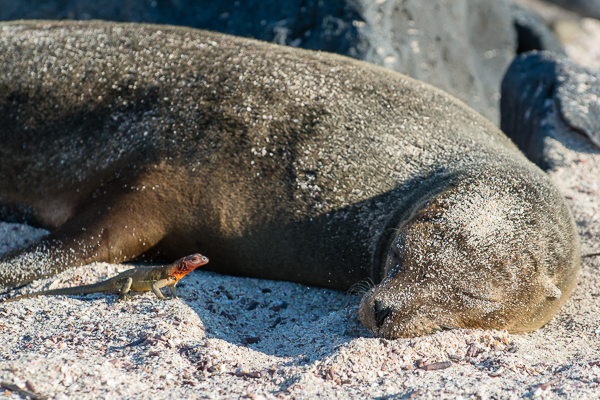
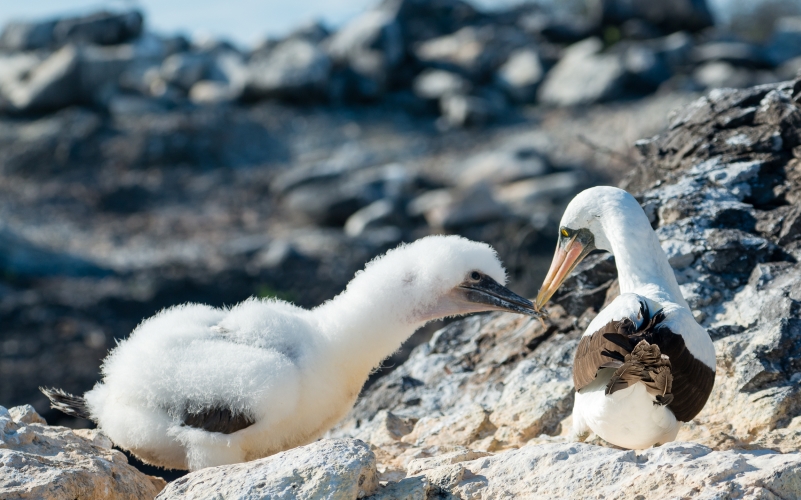
Look to get multiple types of animals in the same photo. They live together, after all. Interactions between adults and juveniles also make for good photos. See photos 7B.
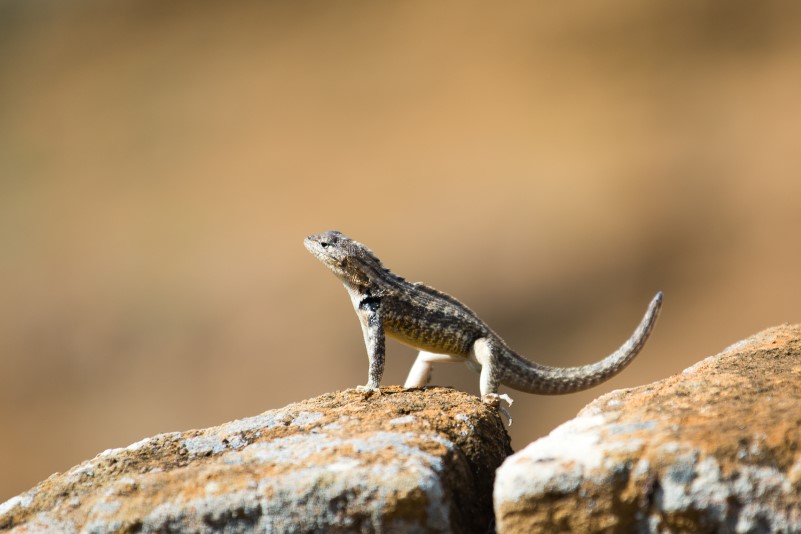
Also … watch your naturalist. Park rules require that a naturalist accompany each tour group (16 people maximum). The naturalists know the animals and their tendencies. If your naturalist is carrying a DSLR camera with a large zoom lens, then he or she knows what to shoot. Talk to your naturalist and observe what they are shooting. See photo 7C.
I often had one eye on our naturalist to see what he was photographing. As the trip went on, I noticed that he was sometimes looking to see what I was photographing.
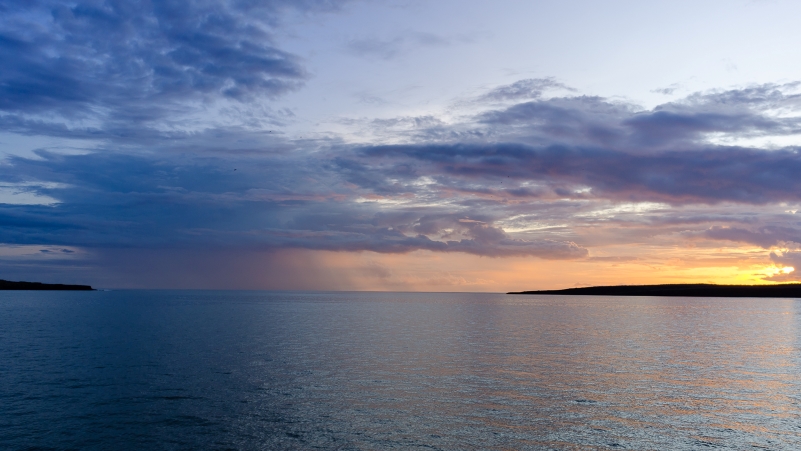
8. We saw some nice sunrises and sunsets from our boat. If you are shooting from a boat, particularly around sunrise and sunset, make sure your shutter speed is fast enough to offset the boat’s motion. Whether anchored offshore or cruising at night, the boat is always moving.
In this situation I would not rely upon a camera with in body stabilization or a lens with vibration reduction.
9. The night sky is beautiful to see, but difficult to photograph. When the moon goes down the stars come out in full force. It is brilliant! Depending on your trip you may even have the opportunity to see the night sky in the northern and southern hemispheres.
Unfortunately the rocking of the boat at night prevents long exposure photos. Instead of getting frustrated with blurry constellation photos, grab a drink and enjoy the view.

10. Be ready. If you decide to stop taking photos early one day, something interesting will happen. Offhand I can think of two potential photos that I missed while waiting for the zodiac to arrive because I packed up early for the ride back to the boat.
The same rule applies when you are lounging on the boat. A good photo may present itself at any time. Have a camera ready and nearby. See photo 10.
What about underwater photography while snorkeling?
Admittedly I have little experience shooting photos while snorkeling. I did not try any special settings or techniques. I simply set my Olympus Tough TG-5 on its snorkeling setting and started shooting.
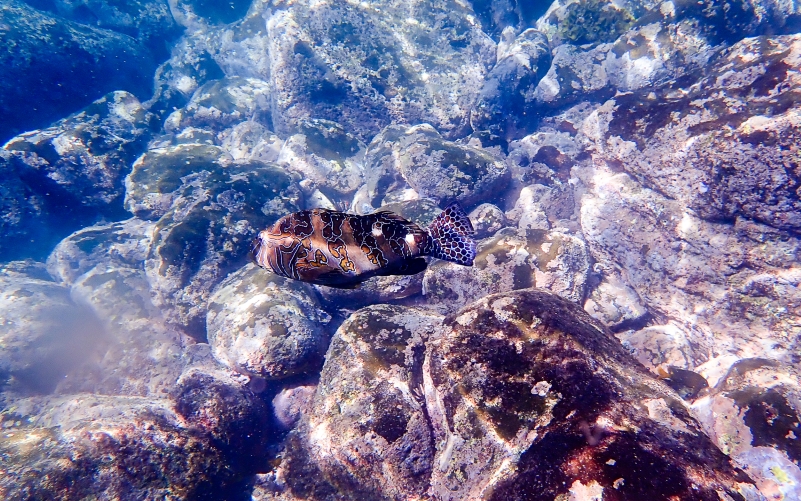
Because of the inherent motion of the ocean, you are constantly moving. I tried to take photos only during times of relative calm.
Rather than chasing fish, which means both you and your subject are moving, I floated calmly and photographed interesting subjects that moved into view. If I saw something that I wanted to photograph, such as a fish hiding between rocks, I’d swim near to the subject and then float by it, shooting accordingly.
Even though my Olympus camera is waterproof to 15 meters, the light is best within five feet of the surface. With few exceptions, I rarely photographed anything deeper.
As with the animals and birds on land, you will get close to a variety of sea animals, including sea lions and sea turtles.
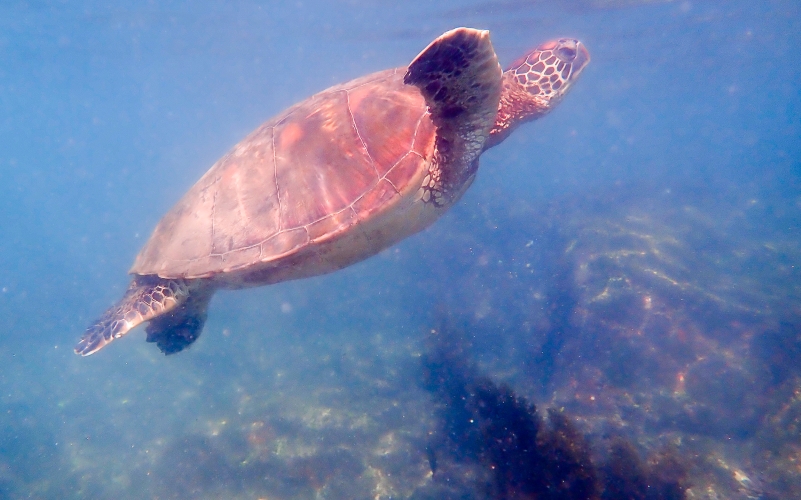
Our naturalist was a very good underwater photographer. He used an Olympus Tough TG-6 set on underwater macro, mostly photographing small reef fish around underwater rocks. Holding the camera in his right hand, he used his left hand (wearing a glove) to grab onto a rock for stabilization.
For underwater videos our naturalist used a Go Pro. He swore that Go Pro is the best snorkeling video camera, while the Olympus Tough TG-6 is the best snorkeling photography camera (short of buying an underwater housing for your DSLR and strobes).
I took a few underwater videos with the Olympus, and was generally satisfied with those taken near the surface. I’m not really a video shooter.
Up next is part three of this series in which I discuss what I should have done differently and revisit gear choices.
Garrett
The Travel Blog page contains collected links to all of our travel posts. Check it out if you have not already done so.
Want to subscribe (or unsubscribe) for email notification of new blog posts? It is only two to three emails a month. Send your name and email address to slowtravelchronicles@gmail.com, and note subscribe (or unsubscribe) in the subject line. All email address will be kept confidential and not sold to any third-party. You won’t get any marketing junk or sales pitches from us.
