What camera and lens did you use? This is a common question since my photos from the Galapagos Islands were posted. So I decided to write about my photography experience.
This article is based solely on my weeklong guided tour in the Galapagos Islands (specifically the eastern, central, and southern islands) on board the Archipel I. I was not on a photography tour and no special accommodations were made for photographers on my trip.
Other than our naturalist (who is an experienced photographer and has led dedicated photography tours), I was the only one in our group with a DSLR. The other folks had cell phones and point and shoot cameras.
I am writing this for amateur photographers who are going to the Galapagos Islands, on a once in a lifetime trip, and want to make simple but meaningful improvements to their vacation photos.
Because this article turned out to be much longer than I originally intended, it is split into three parts. Part one, which you are reading now, outlines what gear I used and the settings I chose. Part two lists ten things you must consider to elevate your photos above vacation snapshots. In part three, I discuss what I should have done differently and revisit gear choices.
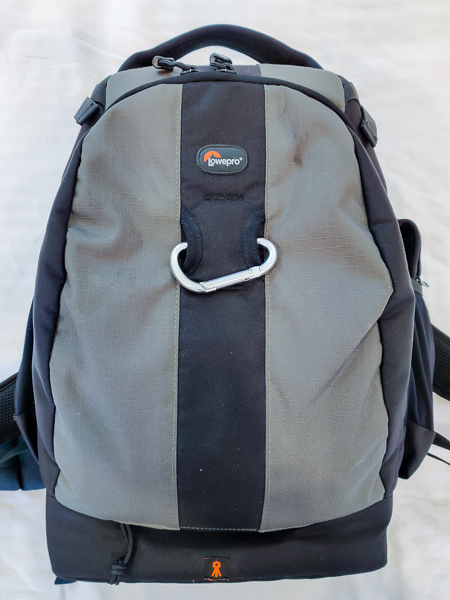
Here is the gear I brought to the Galapagos Islands, in a Lowepro 400 Flipside AW backpack:
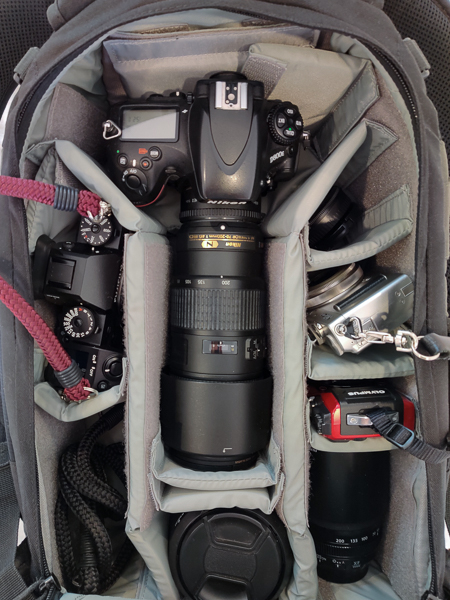
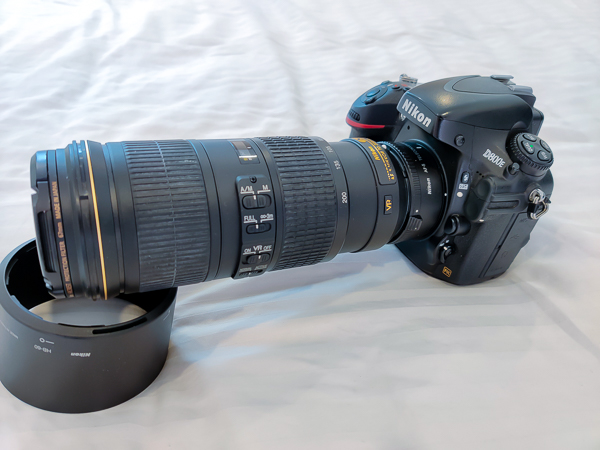
Nikon D800E (36 megapixels (MP), full frame sensor);
Nikon AF-S 70-200mm f/4 (with NC filter attached);
Nikon Teleconverter (TC) 1.4;
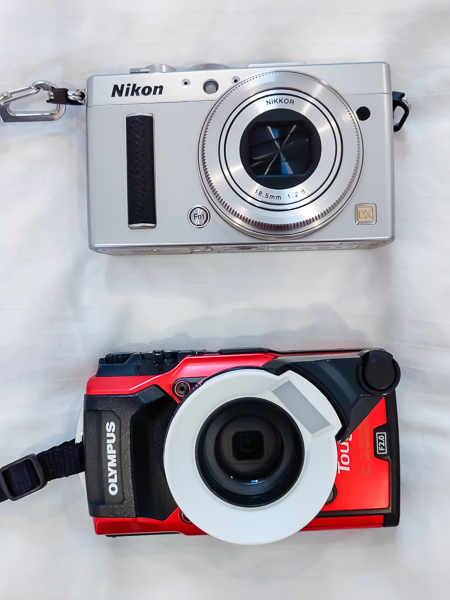
Nikon Coolpix A (16 MP, APS-C sensor, fixed 28mm effective lens);
Fuji X-H1 (24 MP, APS-C sensor);
Fuji XF 10-24mm f/4;
Fuji XF 55-200mm f/3.5-4.8; and,
Olympus Tough TG-5 (12 MP, 25-100mm zoom).
For accessories, I had a Black Rapid camera strap, polarizing filter, Nikon close-up lens 5T, step up/down rings, extra batteries, and chargers.
Not pictured, but also carried in the Lowepro, are Stephanie’s Fuji X-T2 and XC 15-45mm.
The D800E, AF-S 70-200mm, and TC 1.4 combination was my primary camera and lens choice. This provides a focal length of 98mm to 280mm and a maximum aperture of f/5.6. Given the 36 megapixels of the D800E, there is plenty of leeway to crop, if necessary. At an APS-C file size of 16 MP, this combination provides a field of view approximating a focal length of 147mm to 420mm.
I brought my Fuji X-H1 and XF 10-24mm for wide angle and landscape photos, as I did not want to change lenses on the islands. The XF 55-200mm lens served as a backup to my Nikon AF-S 70-200mm.
What about those two point and shoot cameras? The Olympus Tough TG-5 is my snorkeling camera. It is waterproof to a depth of 15 meters. I brought a Coolpix A to use in Quito, Ecuador, where we spent several days before going to the islands. It was not part of my intended Galapagos kit.
My day pack is a 20L Thule. The Lowepro backpack is too large and heavy to enjoyably carry on the nature walks. Generally we had two nature walks and two snorkeling sessions each day. You can read about our daily schedule here.
On our first morning aboard the Archipel I, I gathered my gear: D800E with the 70-200mm and TC 1.4 attached; X-H1 with the 10-24mm attached; polarizer filter; close-up lens 5T; step up/down rings; extra batteries; sun screen; sunglasses; water bottle; and, a small towel.

I should have tested this at home. The two cameras, with lenses attached, did not comfortably fit in the 20L Thule. Rather than cramming everything in that morning, I grabbed the Coolpix A and left the X-H1 and 10-24mm behind. I figured I could work out how to pack both the Nikon and Fuji cameras and lenses in the Thule day pack later.
As it turned out, the Coolpix A became my wide angle camera for the week. I never used my Fuji X-H1 and XF 10-24mm.
Over the course of seven days, I took approximately 2,150 photos on both land (⅔ of total) and in water (⅓ of total). Well over 90% of my photos taken on land were with the D800E, 70-200mm, and TC 1.4 combination. Most others were taken with the Coolpix A. Very few were taken with the Fuji X-H1 and 55-200mm. All underwater photos were taken with the Olympus Tough TG-5.
What gear did I leave at home?
My only other viable lens option was a Nikon AF-S 300mm f/4. I could have used this lens with the TC 1.4 for flying birds, but I did not want to change lenses on the islands. I do not regret leaving it at home. This decision was made easier with a 36 MP camera and ample room to crop.
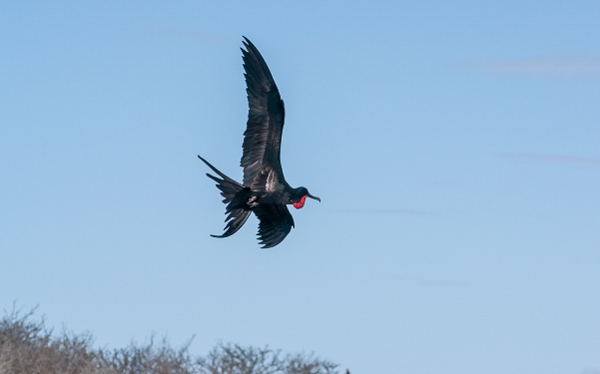
All of my manual focus lenses were left at home, but I would have enjoyed using a couple of them (Zeiss ZF 21 f/2.8 and Voigtlander CV 180 f/4).
I did not bring a monopod or tripod. All of my photos were shot handheld. A monopod would be fine on a typical guided tour, as many folks used hiking poles, but I would not bring a tripod. You are moving almost constantly. There is no time to slow down and use a tripod.
Flash photography is not allowed on the islands so I did not bring a flash.
Even though we visited the Galapagos Islands during rainy season, I did not bring a rain cover. On day two we were in a light rain for about 30 to 45 minutes on Isla Genovesa. My only concern during this time was keeping water off my front lens element.
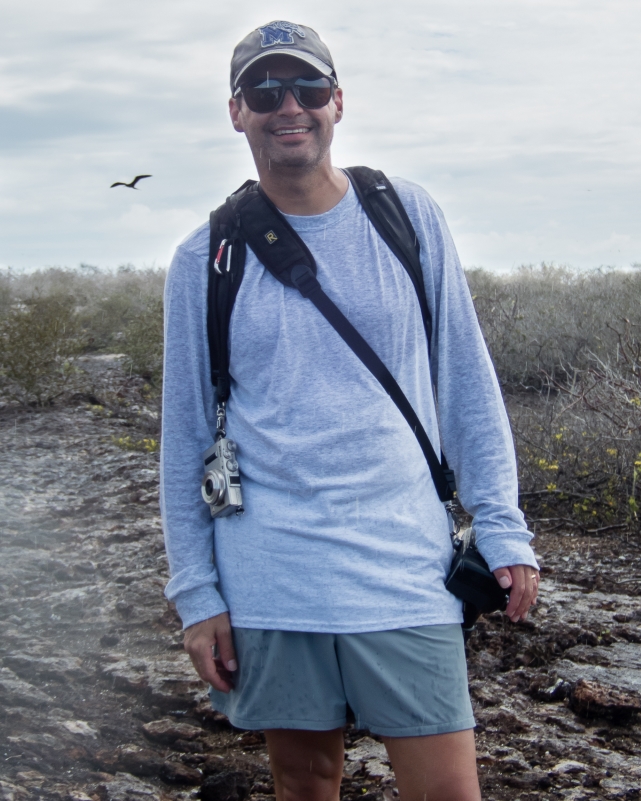
On day seven we were caught in an absolute downpour for about 30 minutes on Isla San Cristóbal. It was our last afternoon on the trip. We had the option to relax on the beach or snorkel. I intended to snorkel and only carried the Olympus with me. The Nikon gear was left on the boat. This was the only time it rained hard enough that I would have had to put my Nikon gear away to protect it from water.
Overall, for a typical Galapagos tour, I was very pleased with my choices.
Let’s go over the camera settings I chose for my D800E, Coolpix A, and Olympus.
I set up my Nikon D800E as if I were shooting flying birds and moving animals all of the time, even though most of the animals were resting.
White balance (WB): I used auto WB. Truth be told, I intended to use sunny WB but forgot to make the change. Either setting works fine.
Image Quality: RAW only, which has always been my preference.
ISO: I set up auto ISO with a range of 100 to 6,400.
Shutter Speed: In conjunction with auto ISO, I selected a minimum shutter speed of 1/1000 second. With this fast shutter speed, vibration reduction is turned off.
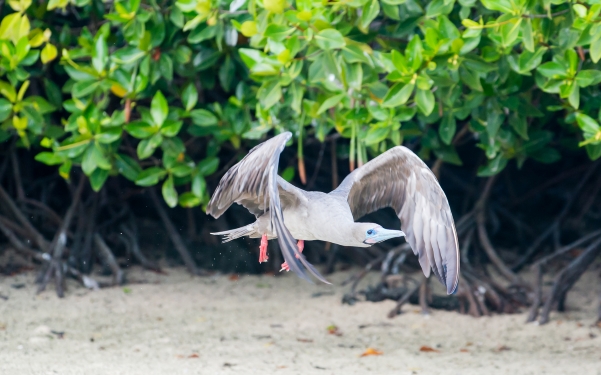
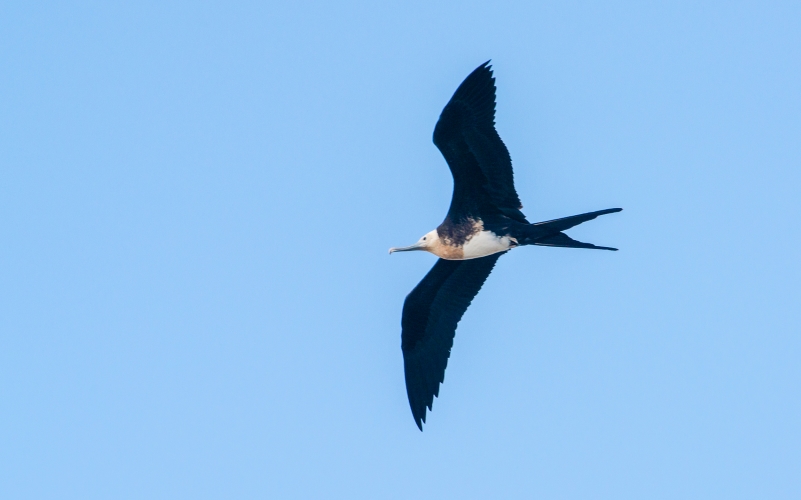

The ISO and shutter speed settings were dictated by my desire to have a minimum shutter speed of 1/1000 second to freeze birds in flight.
Aperture: The maximum aperture of my lens and teleconverter combination is f/5.6. I used the rear command dial on the D800E to adjust the lens’ aperture, most often between f/8 and f/13.

Exposure Metering: Matrix metering was chosen because it does a good job balancing out scenes that have a high dynamic range. As an aside, I never once used exposure compensation.
Focusing: I used continuous autofocus (AF-C), dynamic 9 points. This was selected likewise for birds in flight. Note that I use AF-On (back button focusing) exclusively. I do not focus with the shutter button.
For sea lions, marine iguanas, crabs, lizards, and tortoises, I could have used single point autofocus and slower shutter speeds. But I found myself frequently switching between photographing animals – some resting, others moving – and flying birds. Instead of repeatedly changing settings (or, more likely, forgetting to change), I decided to stick with what I knew would work with flying birds.
I set up the Coolpix A similarly: auto WB, auto ISO in the range of 100 to 3,200, minimum shutter speed of 1/100 second, and matrix metering. I used single point autofocus and focused with the shutter button. It was attached to my day pack with a carabineer.

The Coolpix A was largely used for landscapes and casual snapshots, not wildlife photos. Not using a wide angle lens more often to photograph wildlife was my single greatest mistake on this trip. More about that later in parts two and three.
Because we were in direct sunlight the vast majority of the time, most of my photos were taken with an ISO below 800. When it was overcast and raining, or if I was in deep shade, the ISO jumped up to the 1,600 to 3,200 range. I’m not concerned with ISO levels up to 3,200.
The Olympus Tough TG-5 has a snorkeling setting. Just turn the dial to the fish symbol. You can chose from four underwater modes: snapshot (zoom available); wide; macro; or, HDR. I used underwater snapshot and kept the zoom at its widest setting by default, zooming in only if needed.
On the snorkeling setting the WB is automatically adjusted for underwater conditions. Each photo produced both a RAW and JPEG file.
Hopefully this post explains why I chose the gear that I carried and the camera settings that I used. In part two of this series I go over ten things you must consider when shooting on the Galapagos Islands. Lastly, in part three, I discuss what I should have done differently and revisit gear choices.
Garrett
The Travel Blog page contains collected links to all of our travel posts. Check it out if you have not already done so.

Want to subscribe (or unsubscribe) for email notification of new blog posts? It is only two to three emails a month. Send your name and email address to slowtravelchronicles@gmail.com, and note subscribe (or unsubscribe) in the subject line. All email address will be kept confidential and not sold to any third-party. You won’t get any marketing junk or sales pitches from us.
